Using JB's plans for the keel, I ordered some pine from a local supplier, somewhat thicker than specified, in the expectation that it will be strong enough to contain the lead without having to bury it the ground, as John specifies. I want to be able to move the mold when pouring the lead - using steel tubing as rollers underneath the mold.
I read lots of threads on forums about lead keel pouring - and various solutions including coating the inside of the mold with water glass - but I'm going with a wood fire in a barrel enclosing the crucible.
I had been storing some gas cylinders which I planed to use as a crucible for lead smelting, I meanwhile came across a local company who was advertising some steel barrels for free - when I arrived to collect them he also had some old oxy-acetylene bottles which were also for the taking. So when home with my new crucible, removed to valve to vent the bottle - it was marked 1970 - so it was old but still had the smell of acetone emanating from it. Five hours later we finally managed to extricate the solid mass of firebrick from within...
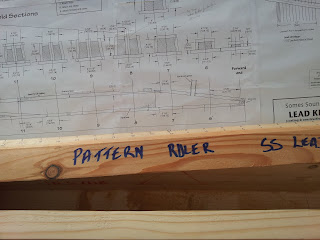
Next, to deciphering the plan. At first it seemed a cryptic document, but I persevered and finally made sense of the plans. No doubt a seasoned boat builder would grasp it in an instant, but to add to the complexity, you need to make a special pattern ruler which accounts for the lead shrinking.
150 screws later, I have a mold ready for pouring...time will tell how successful it is..
 Having used spacers to define to mold profile, I had to cut them out as the top of teh mold is narrower that the base..
I used a large coach bolt at this end to keep the timbers together.
The finished mold, including vent for gasses to escape the enclosed portion of the mold, as specified by JB.


No comments:
Post a Comment