This morning, I cleaned off the epoxy from the inner plugs using my trusty farriers file....easy!

The plug for the bottom of the mast seemed a little oversized and I had to plane it quite a bit to get a good fit, especially at the base of the mast where it is tapered down from the gooseneck. Brian made up the solid plug or the top of the mast - we planed down a 50mm square piece of DF stock - with hindsight, it might have been easier on the table saw, as the octagonal shape was hard to form freehand.
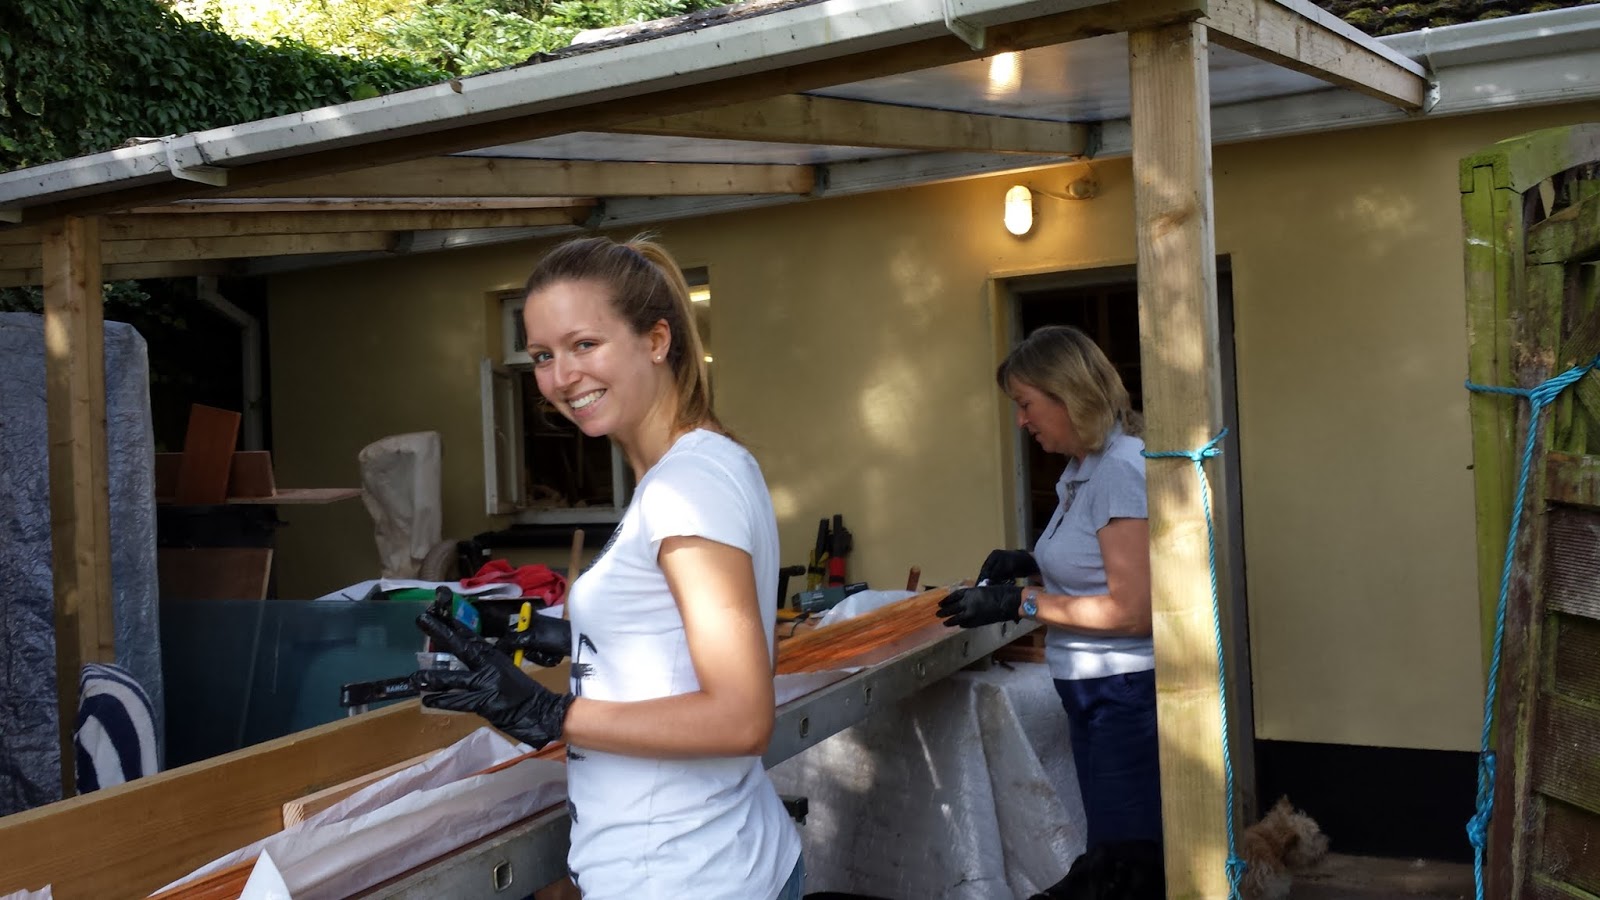
So today was somewhat of a milestone...we finally managed to get the mast glued up, which was a family/team effort with Siobhan, Jane & friend Brian gloved up and spreading epoxy over 8 staves on 3 sides, each 23' long...so 552 ft of stave surfaces covered, while Clare took the pics! We used old toothbrushes which proved superior to small paint brushes which were improved somewhat by cutting their bristles short.
 I set up the ladder straight such that the mast would lie flat on the rungs of the ladder and so define a straight edge which would be the aft side of the mast, transferring all of the taper to the front of the mast. I'm led to believe that this will allow for better sail trim as well as a straight sail track.
We made up ply forms the with an octagonal hole in them which helped considerably in forming the mast together...just one at each end and the mast was quite easy to assemble.
 Here you can see the mast epoxied and initially assembled. We used a variety of hose clamps, cable ties and spanish windlasses to pull the staves together. This produced a satisfying squeeze out, which reassured me that we had adequate epoxy in the joints.
Tomorrow I may start planing down the mast to its final dimensions. We have deliberately left half of the taper to be removed from planing the outside of the mast rather than solely tapering the width of the staves. However as I do not yet have the hardware to position on the mast, I will leave the mast rough finished before finishing to final dimensions, which should allow some wiggle room for fitting the hardware. The specifications call for a rectangular shape to the head of the mast to facilitate mast fittings and a square base to sit into the mast "step" ( I think that is the right term). Given that my mast is now octagonal, I will have to examine how best to make the step for the bottom of the mast.

No comments:
Post a Comment