Friday 8 February 2013

Outerstem, Sternpost and Deadwoods fitted


What seemed like a formality, took quite a while to accomplish, however today I finally was able to view the the fruits of my labour.


Getting the deadwoods to fit snug with the curve of the keel was a slow process, equally fitting it to the lead keel was slow, but somewhat easier as the lead keel is relatively straight.  I used a stick of chalk to cover the entire mating surface on the keel and pressed the deadwood onto the keel - this left chalk high spots on the deadwood which I then addressed using a variety of tools, including my new Japanese wood file.  In the end I finished up using my Metabo orbital sander with 60 grit discs which was quite effective at removing material from the curved surface.  I did check on eBay to see if I could pick up a compass plane, but they all seem to go for big bucks.  I toyed with the idea of investing in a Arbortech Power plane disc, but at over 130 euros, it seemed expensive, so I persevered with files and sanders. 


Most satisfying was drilling the sternpost and deadwoods for the 3/8" bronze threaded bar which by all accounts presents the distinct possibility for drilling off centre.  So armed with a 10mm augur bit I took a line of the scale drawing with my mitre gauge and used this to line up my drill.  Taking it slowly and frequently clearing the bit, ended up with a dead straight result for both bolts.  However, I possibly should have drilled for the countersunk part first and then continued on with the 10mm bit, as doing so after drilling the main hole, it was tricky to centre a forstner bit to widen out the recess.  So I will deploy that technique for the remaining keel bolts which are larger 1/2" bronze threaded bar.


Fitting the keel filler was more problematic - as it turned out I had to remove so much material from the middle of the filler that it ended up in two pieces (actually three - since the two legs of the tuning fork were separated from the other part.


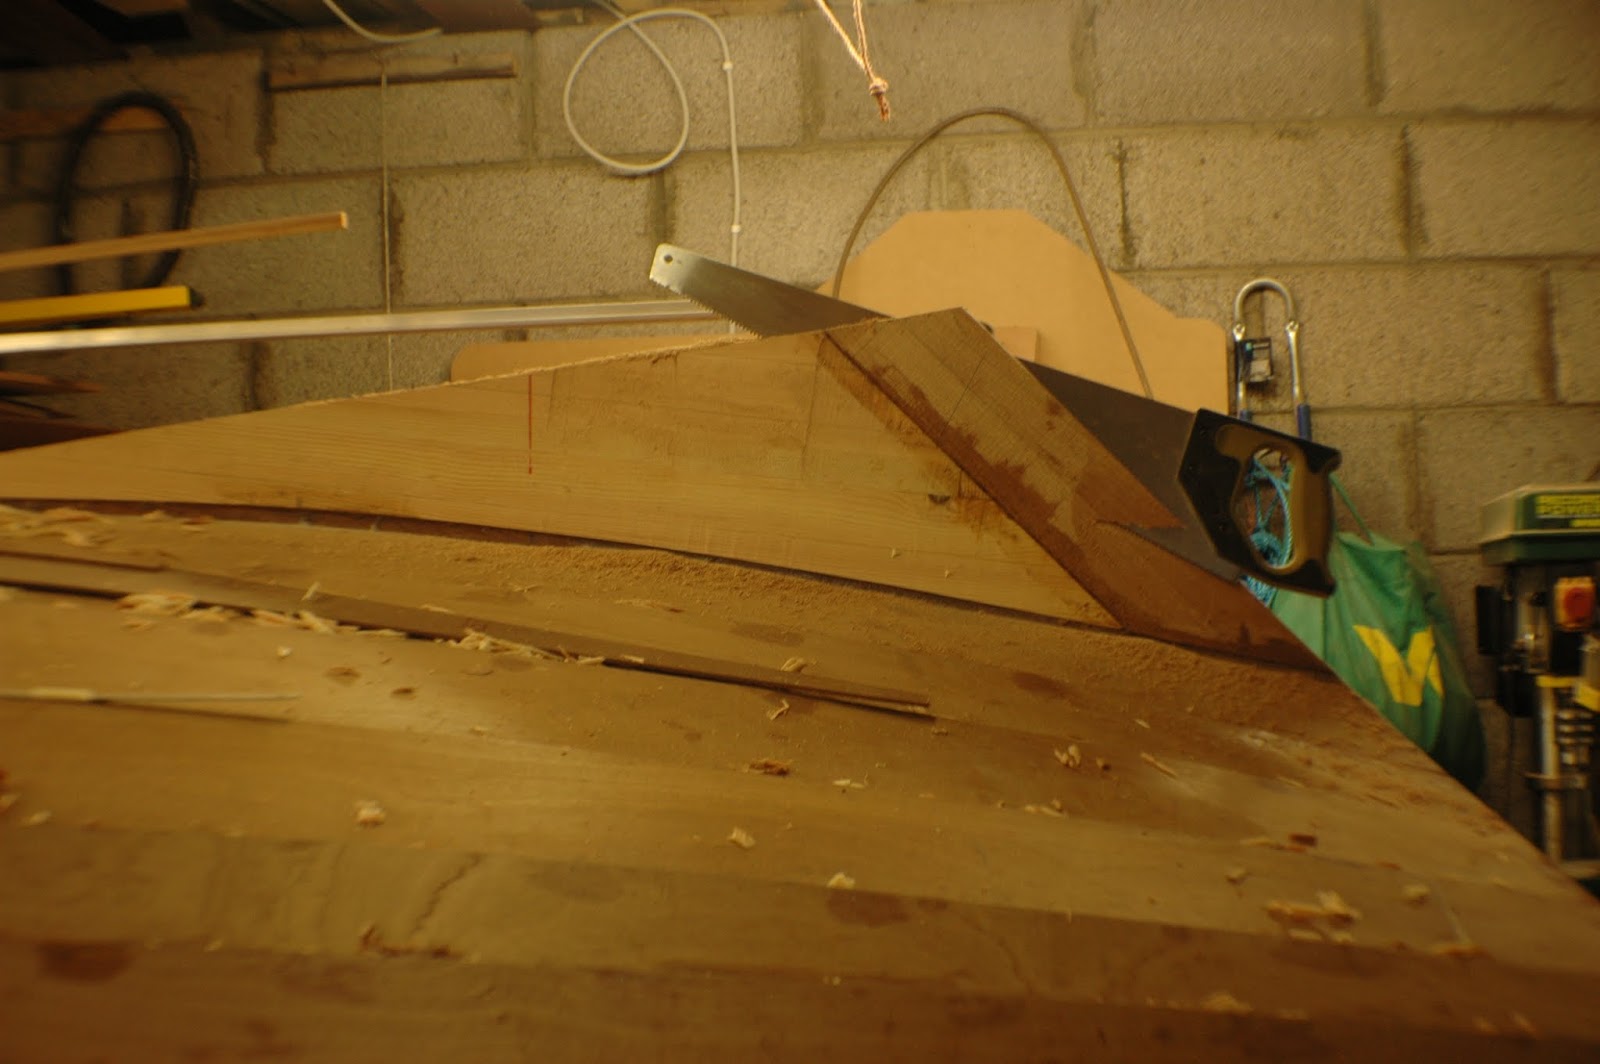
Reverted to handsaw having toiled with a hand plane....!
I am considering the idea of placing the lead keel on top of the hull to drill the keel bolts and finish fairing in the keel and deadwoods.  I would then remove it prior to turning up the hull.  


All the tools in the box thrown at it!
Fish eye lens adds extra curves to the hull!


6 comments:

  1. Keep up the good work. As I used to tell my installers before I retired (If it was easy everyone would be doing it). I have gained more pleasure out of build the Somes Sound and anything I have done in the past. Dave

    ReplyDelete
  2. Less gap and curving shape of boat is more accurate and easy to drive with save.
    Roger

    ReplyDelete
  3. This comment has been removed by the author.

    ReplyDelete
  4. The next time you find yourself needing to countersink an existing hole try drilling the countersink hole into a separate piece of wood and attaching the block with the hole drilled over the smaller hole. Attach with hotmelt glue or pins and it becomes a chase to keep your larger bit centered over the existing hole while you drill the countersink.

    Dave Johnson

    ReplyDelete
    Replies
    1. Dave that's an excellent tip!! Thanks for keeping an eye on my build. .. currently working on sole beams. Also interested to hear your thoughts on cutting v grooves in bulkhead or leaving it plain? ? Thanks Paul

      Delete
    2. I cut the groves mainly to give it a little design. If you have a good looking piece of wood and plan to varnish it I'd leave the grooves out. I was simply following John Brookside's lead and then wound up painting the panel. If I have enough Brazilian Cherry left over I may make the by fold doors out of cherry. Just finished making a Cherry cap rail for the coaming and am very pleased with the way it turned out. I'll post pictures in a day or so.

      Dave

      Delete